Showing posts with label Mexican. Show all posts

Wednesday, February 1, 2012

Easiest Crockpot Chicken Taco Ever...Seriously

In honor of the fact that this is the shortest recipe I have ever posted (it's already committed to memory), I am going to keep this post brief. Well that and the fact that I am bone tired from my full-time job. I do enjoy working, but man it interferes with my foodie pursuits (and subsequent blogging adventures). 


I discovered this recipe on Pinterest and it comes from a blog titled "My Chocolate Therapy", which I think we can agree is an odd title for a blog that includes dinner meals like Chicken Tacos. Anyway I decided to give it a try because, and I could have sworn my eyes deceived me, it involves only 3 ingredients and turns your Crockpot into the Head Chef of the evening. Here is the recipe:


Mine

Hers. Photo from www.mychocolatetherapy.blogspot.com


Crockpot Chicken Tacos
Recipe from Tasty Kitchen

1 envelope Taco Seasoning
6 pieces Boneless, Skinless Chicken Breasts
1 jar Salsa (16 oz)

Dump everything into a crock pot and give it a little stir to blend the seasoning with the salsa. Cook on high for 4 to 6 hours or on low for 6 to 8 hours. When done, the chicken should shred easily when stirred with a fork.

For tacos, serve the chicken with soft flour tortillas, lettuce, shredded cheese and sour cream. This is very versatile and can be used for enchiladas, nachos, tostadas, etc. Any leftover chicken can then be used for tortilla soup (make it the next day or freeze the chicken to use at a later time).


Throw it all in the pot and get cooking!


Pros: The recipe is simple, but more importantly, it is entirely accurate. Throw everything in the Crockpot, give it a stir, and in 6-8 hours on low you will get some shredded chicken goodness. My first thought when coming home from work was, "Wow this smells amazing. I hope it tastes as good as it smells." Oh it does. The chicken is so moist and packed with flavor. You really don't even need items like onion and salsa on the side. 


It was so good that the pup was begging for scraps!
Which, honestly, she does for any human food. 
Cons: I have zip. None. It was delicious. 


Revisions: The nice thing is that, you can really get creative and top your chicken with whatever you want. The chicken is so good that you could easily eat it on its own. If you wanted to be healthy you could also put the shredded chicken on a big leaf of Romaine lettuce and use that as your taco. I have read in the comment section of her blog that some people have added a can of  "Cream of Mushroom" soup to the mixture, but I didn't feel like it needed anything else. 


Check out that chicken!

I love taco night. 


This is definitely going to become a weeknight staple in our house. It is a great way to get some good home cooking without shelling out a lot of time or money. It is a great way to do Mexican and honestly, I do not think you can get chicken that moist any other way. So, give it a shot and let me know what you think! 

Monday, January 23, 2012

Mexican Done Differently: Cheesy Taco Pasta

We are big Mexican fans in my home and I am always looking for creative, easy ways to get that south of the boarder flavor. I decided to try an all in one meal and give "Lauren's Latest" another shot after my recent disaster with her "S'mores Tart" last week. Luckily this Cheesy Taco Pasta was not a repeat of last week. This recipe was a hit and no one left the table with anything left on their plate. Here's the recipe:


Her's. Photo from Laurenslatest.com

Mine. Ready for its close up!

Cheesy Taco Pasta
yield: 4 large servings

Ingredients:
1 lb. ground beef {I used 80/20]
1 taco seasoning packet (*Use Low Sodium!)
1 1/2 cups southwest salsa (*I used regular salsa. It made no difference)
1/2 cup water
1/2 lb. pasta {I used rotini}
2 cups grated cheddar cheese (*I used a little over a cup of Mexican Cheese-all I had in the house)
1/4 cup cream
salt & pepper, to taste
Directions:
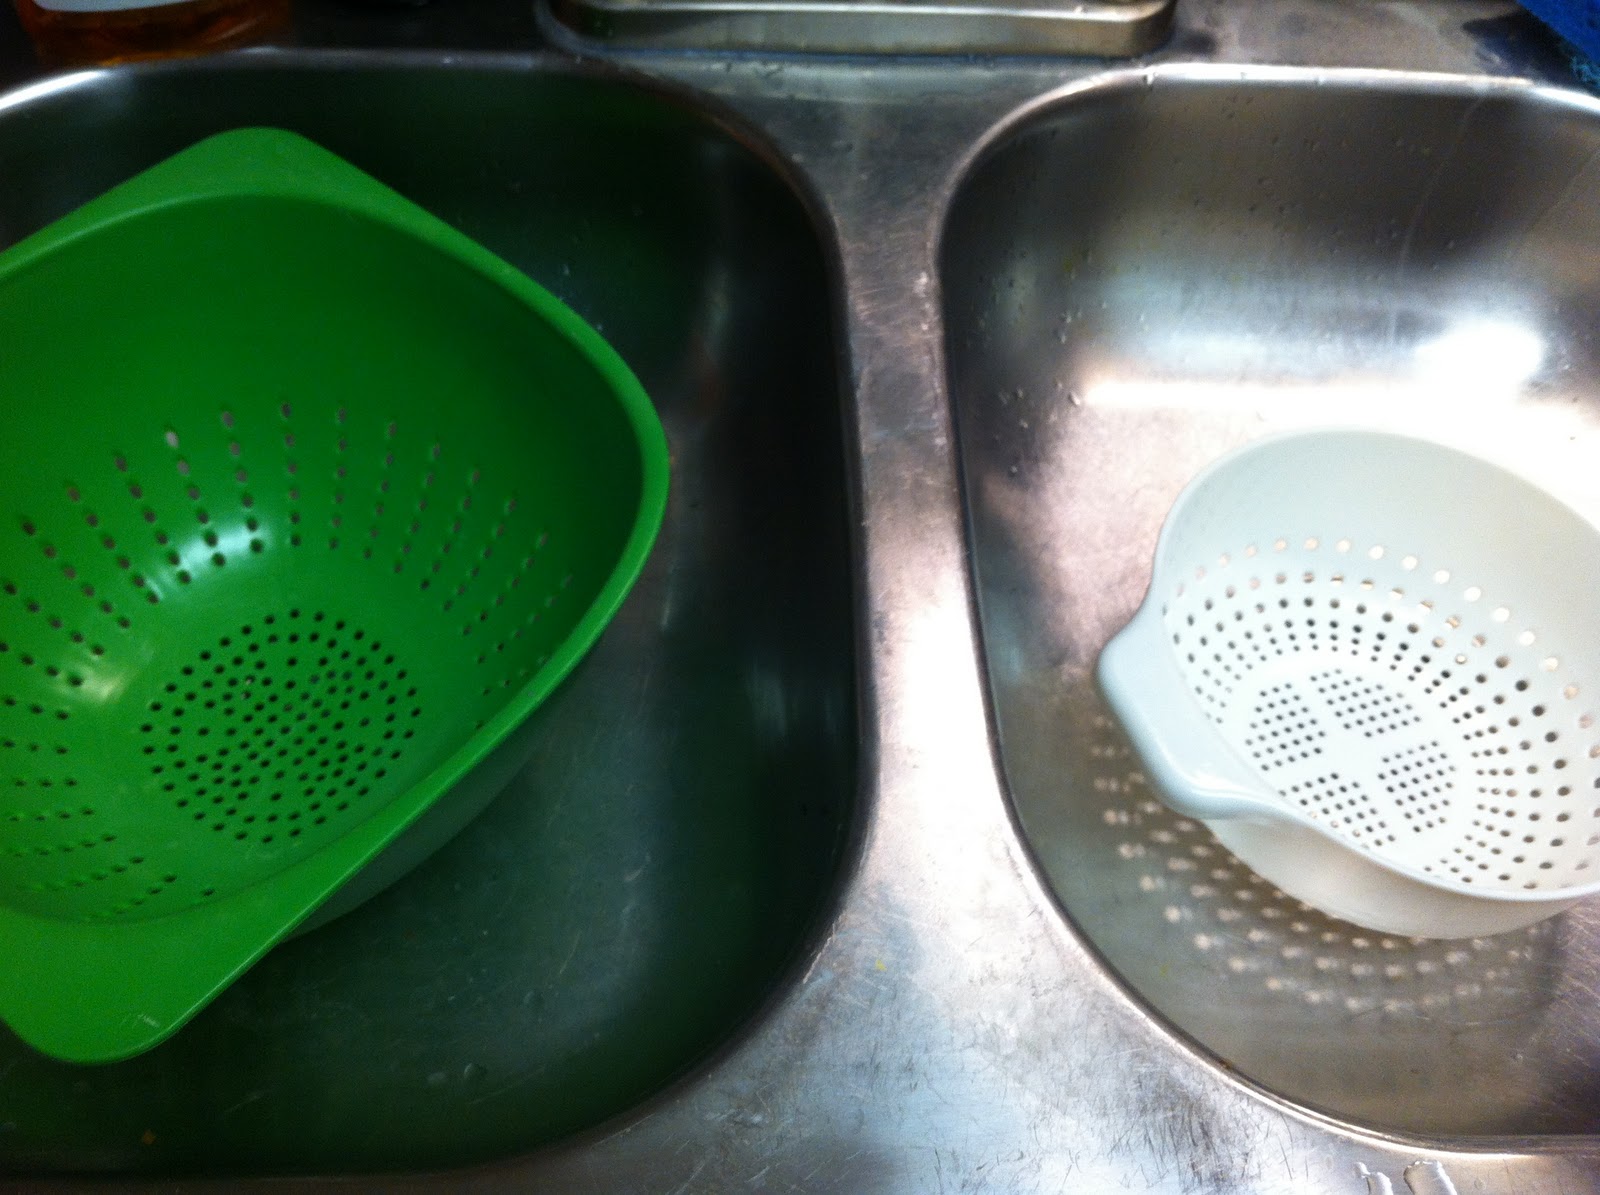
Make sure you have two strainers ready to go! You'll need them both!
Bring water to boil to cook the pasta. Salt it and cook pasta until al dente.
While the pasta is cooking, in a large skillet, cook ground beef, breaking apart as you go. Once thoroughly cooked, drain meat and run under hot water to remove any fat. Wipe out pan with paper towel and place back on heat. Pour cooked beef into hot pan with taco seasoning, salsa and water. Simmer until pasta is finished cooking.
Once pasta is cooked, drain well and pour into skillet. Top with cheese, cream, salt and pepper. Stir until cheese melts and noodles are coated in sauce. Serve immediately.


Pros: The recipe is super simple! If you time it right, you can cook the pasta while putting together the meat and other ingredients and have a meal in no time. Also it is just a solid super yummy recipe. I've never had Hamburger Helper before, but according to my husband it is very similar. Only better of course :)

Cons: Honestly I have nothing. The recipe is really thought out and well written and tastes delicious.

Revisions: Lauren even states in her revisions that low sodium taco seasoning is the way to go, so I also used low sodium seasoning and didn't add any extra salt and found the flavor balance to be perfect. I also used Mexican cheese instead of cheddar and about half the amount and thought there was enough cheese, but if you want it super cheesy, definitely use the allotted amount. I used Mexican because while at the grocery store I was agonizing over if we had Cheddar in the house already (we didn't) when my husband turned to me and said, "Why does it matter? We have Mexican in the house. Just use that up." Sometimes even he is right :) But, it just reminded me what I can't stress enough and that is use what you have! Don't be afraid of substitutions! It makes perfect sense to use Mexican cheese in a Mexican recipe, go for it! I know it can be scary if you're a new cook to veer off the path, but use your instincts and use what you have in house. Your wallet will thank you. 

Overall this is a hearty and tasty recipe that is easy enough to throw together during the week and heats up nicely for lunches the next day! Great meal for families and singletons alike! 

Monday, January 16, 2012

Me Gusta Taco Melts!

Know what's super pathetic? I had to go to free translation to make sure that I spelled "Me gusta" or "I like" correctly before posting this blog. Clearly that four years of Spanish in school served me well.


But, this recipe really is "muy bueno" and best of all incredibly simple to make. Ever since I started my grown up real world job (all of ten hours ago) I have been scouring the Internet for easy to make, weeknight meals that are tasty and do not break the bank. I tested this one out over the weekend and it comes from Pillsbury and is called Grands! Easy Taco Melts. This is my first recipe from the major supplier of all things doughy and I have to admit, I was a bit skeptical at first. I hate recipes that push products (obviously they are going to push their name brand of "Grands", but does it really make a difference if I use Old El Paso Thick n' Chunky Salsa? I think not. Also, I just thought it was going to plain suck, sort of like making the equivalent to a fast food dinner. I was proven wrong, deliciously incorrect, on both counts. Here is the easy recipe:

The Dough Boys. Photo from www.pillsbury.com
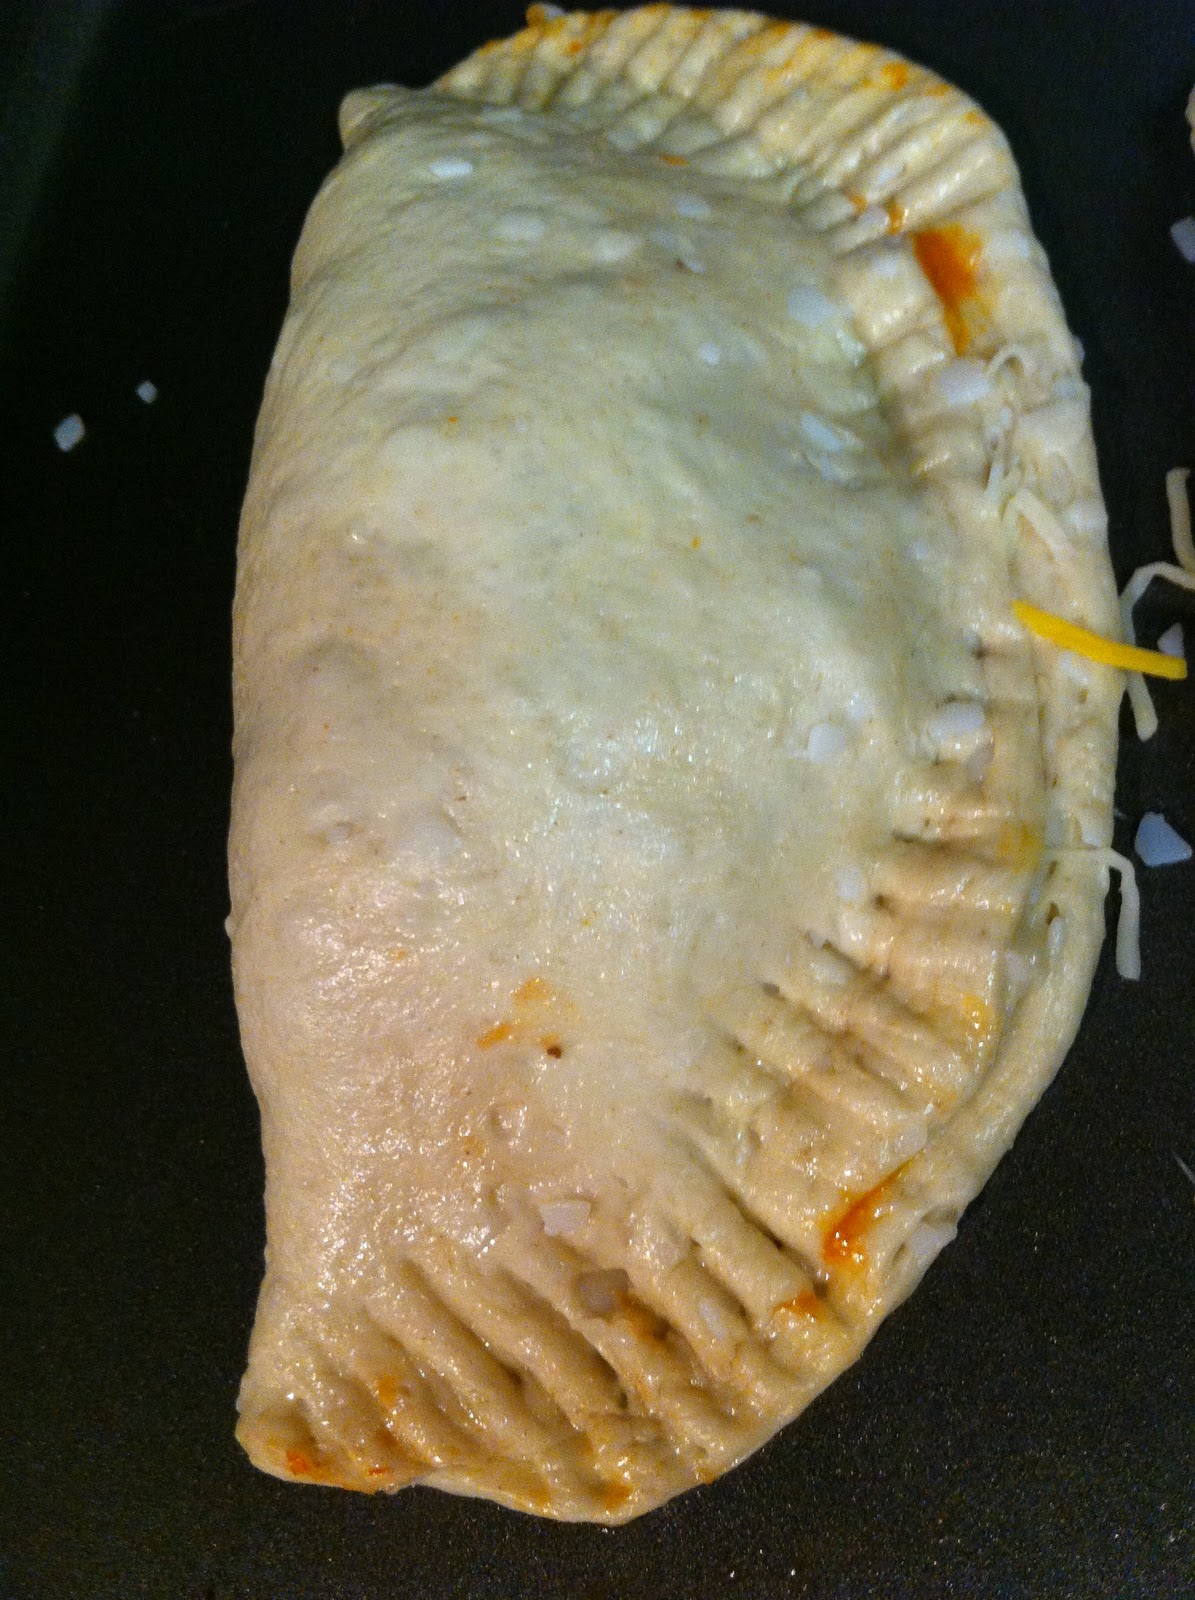
Mine
Grands! Easy Taco Melts
Makes 8-10 Melts

INGREDIENTS
1 lb lean (at least 80%) ground beef, cooked, drained
1 1/2 cups Old El Paso® Thick ‘n Chunky salsa
1  can (16.3 oz) Pillsbury® Grands!® refrigerated biscuits
1/2 cup shredded Monterey Jack cheese or Mexican cheese blend (2 oz)

DIRECTIONS

1. In 10-inch nonstick skillet, mix cooked beef and 1/2 cup of the salsa. Cook over medium-high heat, stirring occasionally, until hot.


Brown the meat. Add the salsa. Easy Peasy!

2. Press each biscuit into 6-inch round. Spoon 1/3 cup meat mixture and 1 tablespoon cheese onto center of each round. Fold dough in half over filling; press to seal. Place on greased cookie sheet.


Use a fork to press down the sides. 
3. Bake at 375°F 9 to 14 minutes or until golden brown.


Ole!
Pros: It's yummy, it requires four ingredients (well five if you count sour cream as an essential ingredient, we do in my family), and it is filling! One was plenty for me with a salad on the side and two more than filled up the men of the house.

Cons: This was really just a "Meredith is a spazz" negative, but I was pretty dismal at assembling the melts. You definitely have to make sure to flatten the dough out to the point where it is almost ripping to fit the meat mixture and fold without oozing out the meat mixture (wow that was a gross way to describe food. Sorry!)

Revisions: On principle I did not use the brand name salsa (really the supermarket brand was cheaper and a 2 for 1, I love a good deal). Also, on the side I made a salad with tomatoes and chopped red onion to compliment the melt, but next time I think I would add the chopped onion right into the melt, it would have added a nice flavor component to the dish. Even without it, it was still a hit in my house.

This is the perfect recipe for the busy man or woman (and really who isn't?) who is looking to try a new recipe that is attainable on a weeknight. It is a different take on "Mexican" night that is simple yet packs a lot of punch. Also, it holds nicely to make a great taco salad for next day's lunch, and any dish that you can get more than one meal out of is a good thing in my book!