Showing posts with label One Dish Meals. Show all posts

Friday, February 17, 2012

Easy Peasy Chicken Pot Pie with a Twist!

As a girl working, 9-5, what a way to make a living (yes I sometimes sing that to myself as I drive to work- I sound just like Dolly Parton in mind), I am always looking for the perfect dinner dish. That hard to find dish that is inexpensive, somewhat healthy, and most importantly, quickest to make. It is a continual fight to find a recipe that  I can rationally tell myself will take around the same amount of time as going through the takeout menus, picking up the phone, and ordering out.

This is my first week at my new job and I am bone tired, so cooking has been extra challenging this week. For some reason, I decided it would be a good idea to not only try out a new recipe on Pinterest claiming to be "super simple", but also from a blog I've never tried before. 

Luckily, the cards were in my favor and this recipe for "Super Simple Chicken Pot Pie" is from a "mommy" blog called "The Bizy Mommy" and it's about...well it's pretty self-explanatory. Instead of posting her recipe, I am just going to post my adaptations below because I ended up doing a lot of things differently based on what I had in the fridge, but you can always go to her site and check it out for yourself. The great thing about this recipe is that it's so flexible, you can easily put your own twist on it and it will come out tasting fabulous. Here's the recipe:

Yummm

Super Simple Chicken Pot Pie
adapted from "The Bizy Mommy" 
Serves: 6-8

Ingredients:

2 cups of chicken (I used two whole chicken breasts, chopped them up, and cooked them on the stove). You can use canned, or frozen, just cook per instructions)

1 bag of mixed frozen vegetables (nuke according to directions) 

1 can evaporated milk (skim or regular, doesn't matter)

1 packet of mashed potatoes (cook according to directions. She used a pre-made container of Bob Evans Mashed Potatoes just as an FYI)

2 cloves of garlic, minced

1/4 cup of onion, finely chopped (I used a sweet onion)

pinch of Parsley

pinch of garlic powder

salt and pepper (to taste) 

2 cans of biscuits 

Directions:

(Pre-Heat your oven at 350)

1. Whip up mashed potatoes, set aside. At the same time, prepare your chicken according to package directions.

2. Heat up your veggies (if you are using the frozen kind)

3. Dump everything (Except the biscuits) into a large bowl. Mix up.

4. Pour into a baking pan (round or square) and cover with biscuits.

5. Pop in the oven at 350 for 20-30 minutes or until biscuits are golden brown on top. 

6. Devour

Ingredients sans chicken

Grilled chicken 

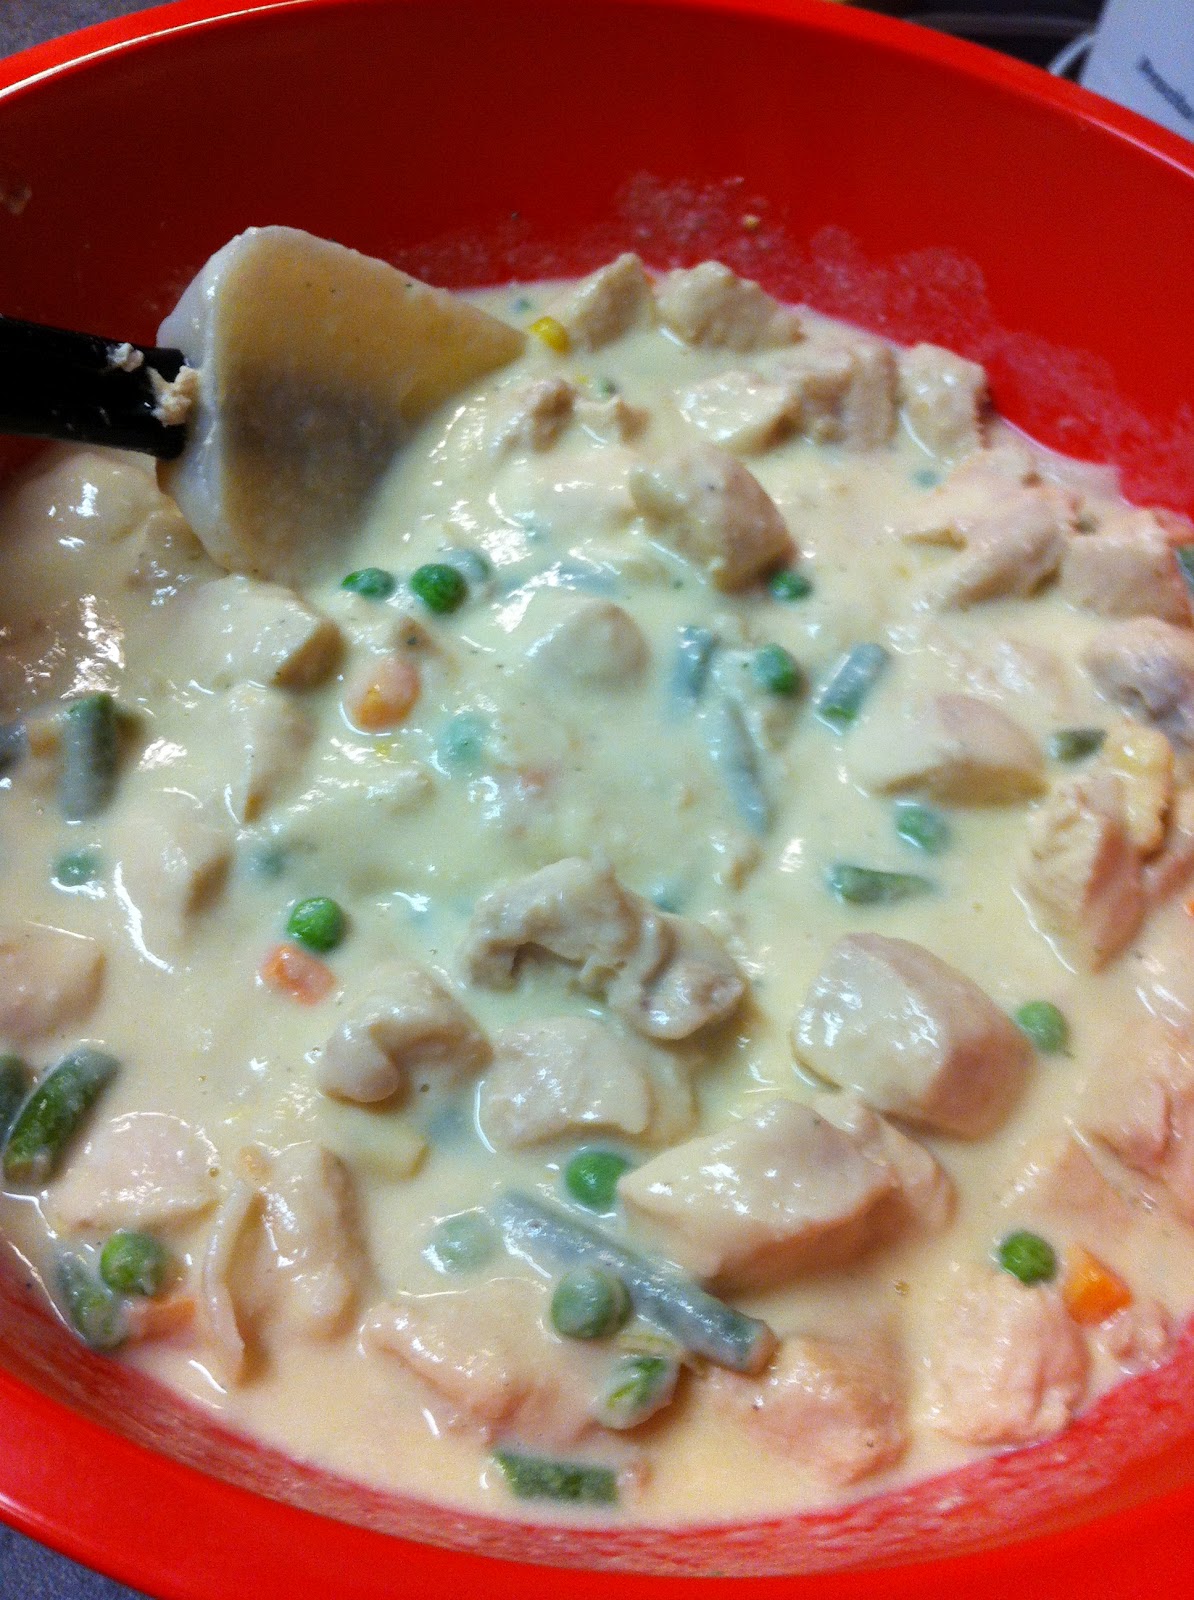
Mix it all up  
Poor into a pan 

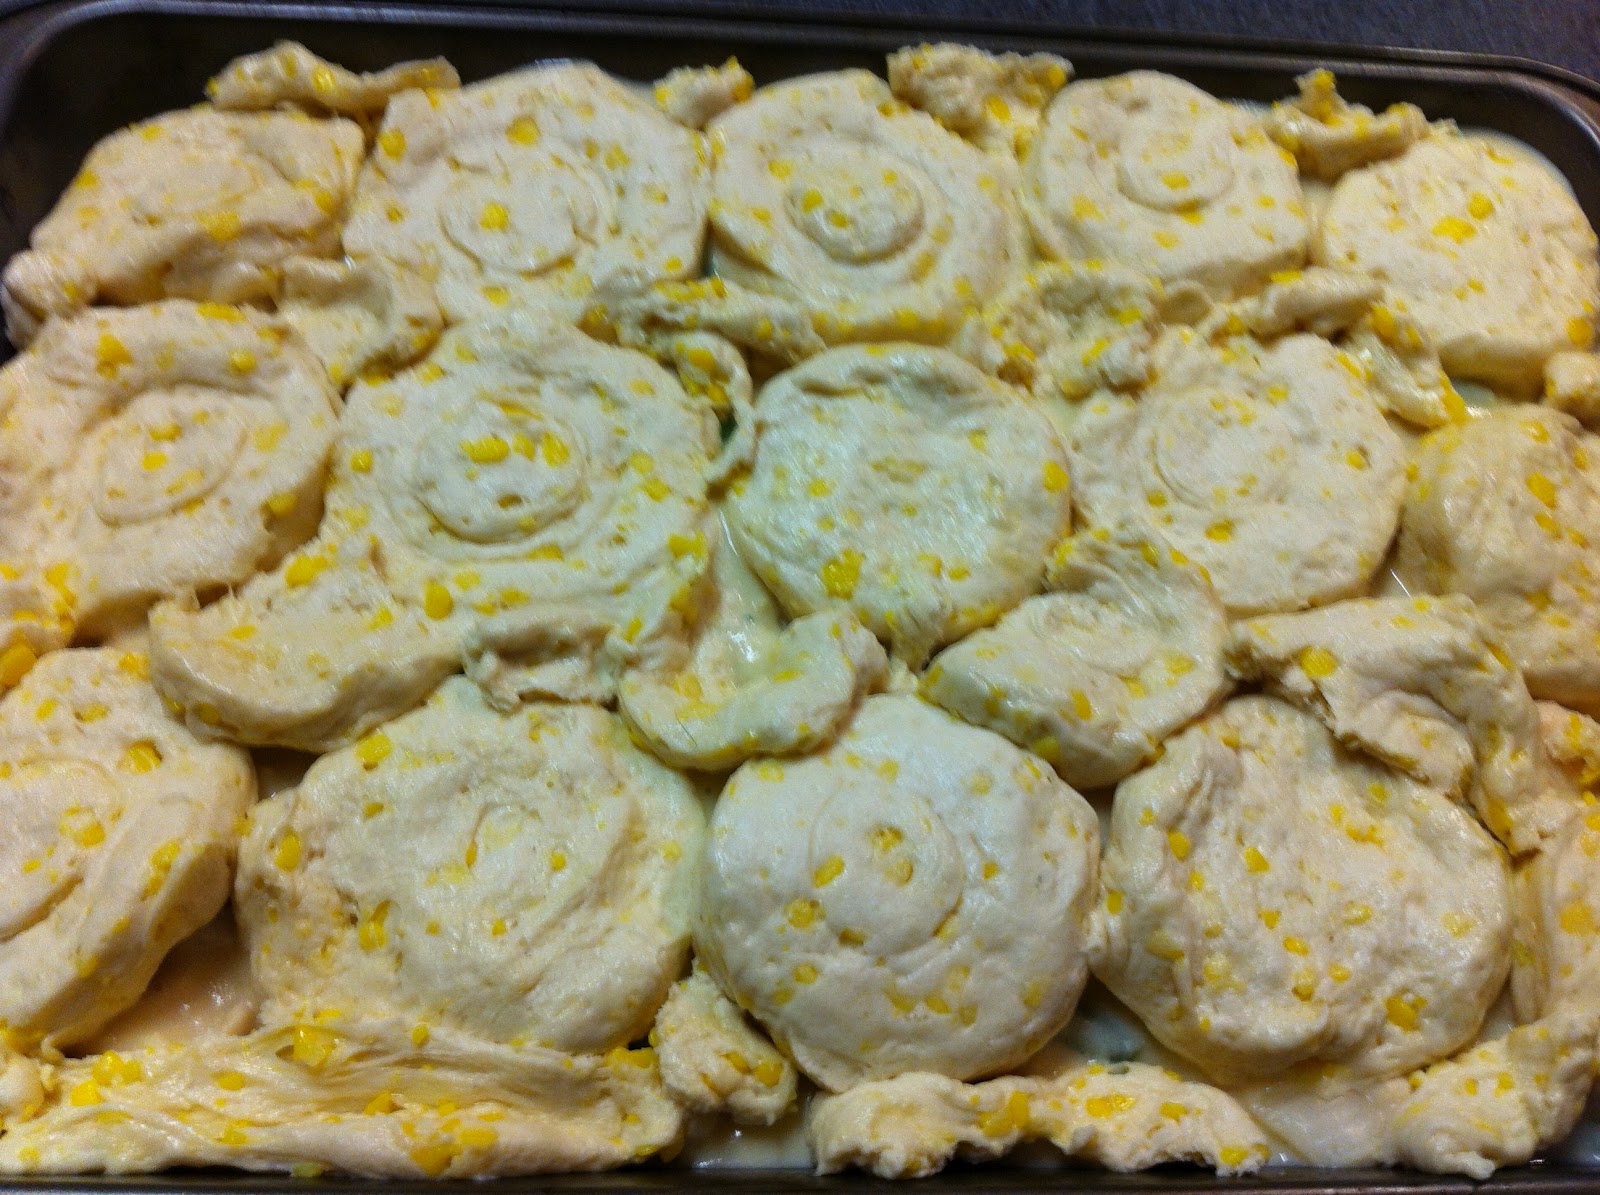
Put the biscuits on top 

Fresh out of the oven! 

Pros: Despite the fact that I basically ended up changing half the recipe, it was not difficult at all. The best part about this recipe is there is little room for error. It's a "use what you have" kind of recipe. Most importantly it is AH-MAZING! The biscuits on top give it a twist and it is so much easier to make than slaving over a homemade pot pie crust. It is a twist that both my husband and brother gobbled up and then went back for more!

Chicken Pot Pie 


Cons: The big issue I had with her original recipe is that it called for pouring everything into a huge bowl and microwaving it for five minutes. Microwaved chicken breasts are going to turn out rubbery, so I was not inclined to follow that step. Based on that, I edited most of the recipe to fit my needs, but once again, that is the beauty of the recipe; it is very flexible. 

Revisions: Next time I would add more pepper and let it sit a few minutes before serving so it could firm up a bit, but other than that, it was absolutely delicious and a meal I will definitely make again...and again...and again...

Welcome to the Hall of Fame Super Simple Chicken Pot Pie! Your flaky, creamy, chock full of protein and veggies goodness is on its way to becoming a staple in my household. 

Monday, January 23, 2012

Mexican Done Differently: Cheesy Taco Pasta

We are big Mexican fans in my home and I am always looking for creative, easy ways to get that south of the boarder flavor. I decided to try an all in one meal and give "Lauren's Latest" another shot after my recent disaster with her "S'mores Tart" last week. Luckily this Cheesy Taco Pasta was not a repeat of last week. This recipe was a hit and no one left the table with anything left on their plate. Here's the recipe:


Her's. Photo from Laurenslatest.com

Mine. Ready for its close up!

Cheesy Taco Pasta
yield: 4 large servings

Ingredients:
1 lb. ground beef {I used 80/20]
1 taco seasoning packet (*Use Low Sodium!)
1 1/2 cups southwest salsa (*I used regular salsa. It made no difference)
1/2 cup water
1/2 lb. pasta {I used rotini}
2 cups grated cheddar cheese (*I used a little over a cup of Mexican Cheese-all I had in the house)
1/4 cup cream
salt & pepper, to taste
Directions:
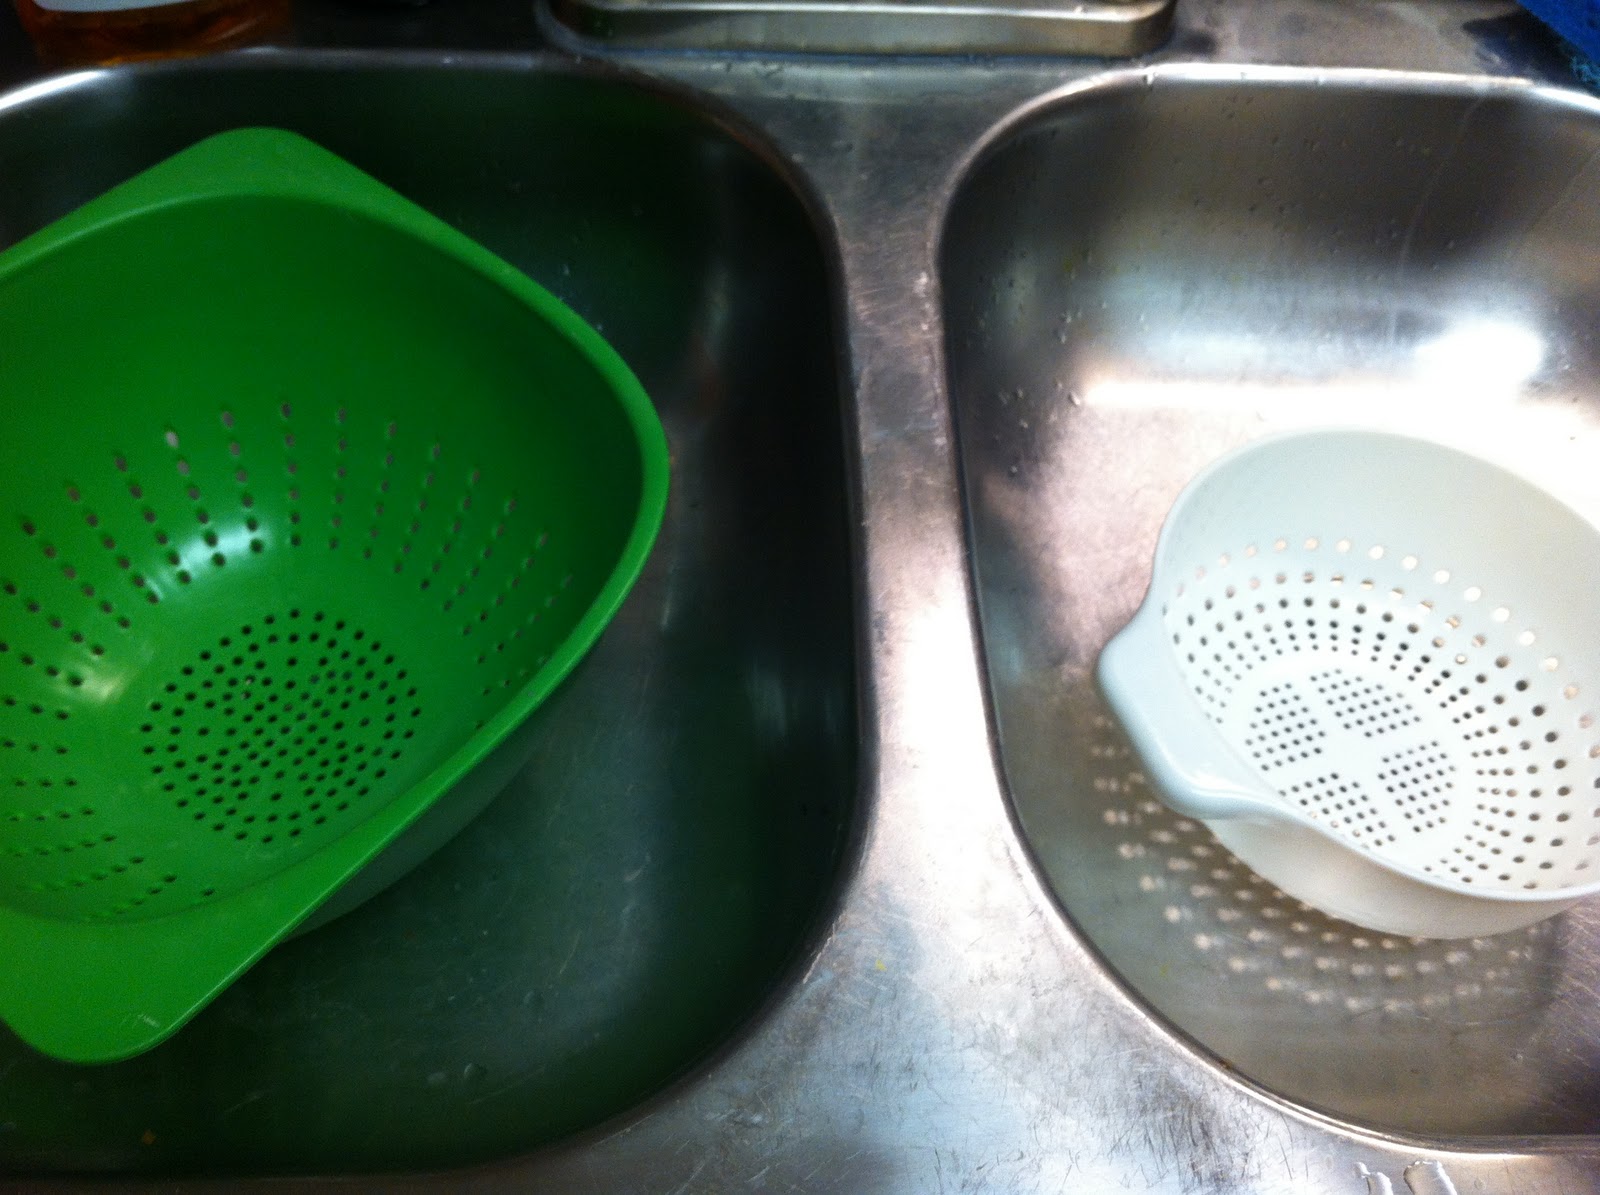
Make sure you have two strainers ready to go! You'll need them both!
Bring water to boil to cook the pasta. Salt it and cook pasta until al dente.
While the pasta is cooking, in a large skillet, cook ground beef, breaking apart as you go. Once thoroughly cooked, drain meat and run under hot water to remove any fat. Wipe out pan with paper towel and place back on heat. Pour cooked beef into hot pan with taco seasoning, salsa and water. Simmer until pasta is finished cooking.
Once pasta is cooked, drain well and pour into skillet. Top with cheese, cream, salt and pepper. Stir until cheese melts and noodles are coated in sauce. Serve immediately.


Pros: The recipe is super simple! If you time it right, you can cook the pasta while putting together the meat and other ingredients and have a meal in no time. Also it is just a solid super yummy recipe. I've never had Hamburger Helper before, but according to my husband it is very similar. Only better of course :)

Cons: Honestly I have nothing. The recipe is really thought out and well written and tastes delicious.

Revisions: Lauren even states in her revisions that low sodium taco seasoning is the way to go, so I also used low sodium seasoning and didn't add any extra salt and found the flavor balance to be perfect. I also used Mexican cheese instead of cheddar and about half the amount and thought there was enough cheese, but if you want it super cheesy, definitely use the allotted amount. I used Mexican because while at the grocery store I was agonizing over if we had Cheddar in the house already (we didn't) when my husband turned to me and said, "Why does it matter? We have Mexican in the house. Just use that up." Sometimes even he is right :) But, it just reminded me what I can't stress enough and that is use what you have! Don't be afraid of substitutions! It makes perfect sense to use Mexican cheese in a Mexican recipe, go for it! I know it can be scary if you're a new cook to veer off the path, but use your instincts and use what you have in house. Your wallet will thank you. 

Overall this is a hearty and tasty recipe that is easy enough to throw together during the week and heats up nicely for lunches the next day! Great meal for families and singletons alike! 

Wednesday, January 4, 2012

"Americanized" Shepherd's Pie

One of my favorite things to eat growing up was my mom's Shepherd's Pie. Not only was it delicious, but I felt entirely cooler eating something so European and not an American staple (ex: Shake n' Bake-we ate a whole lot of Shake n' Bake growing up too). I only learned how American my mom's Shepherd's Pie was (I mean it was a Weight Watchers recipe for crying out loud) when my friend's English mother said she was serving Shepherd's Pie for dinner and, when I looked down at my plate, I didn't recognize what I was eating.

The point is, original or "Americanized" Shepherd's Pie is a scrumptious, hearty, easy to whip up meal-in-one. I stumbled upon the recipe for this particular Shepherd's Pie when I was searching for Mini Ramekin recipes, an item I coveted and finally purchased with wedding gift cards and have felt guilty ever since for not using. Ironically enough, I discarded the Mini Ramekins all together when making this dish because it was easier to make in one large Ramekin or Deep Dish Pan. This recipe comes from "Life On the Flip-Flop", which is a blog run by three different women and contains a little bit of everything (it is sort of like the online version of "The View). Clicking on the blog title will bring you to the original link, but to be honest, I only slightly followed the recipe because I found it to be a bit confusing and full of unnecessary butter. Here's the recipe below with my edits:


My Large Ramekin Modified Shepherd's Pie

Their Mini Ramekins. Photo from: www.lifeontheflipflop.com

Mini Shepherd's Pie in Ramekins
(I just used a large Ramekin)

Ingredients :
8 tablespoons cooked ground beef
2 cups mashed potatoes
4 tablespoons corn
4 tablespoons butter
cheese or dairy free cheese

*I ended up using 1lb of beef because I wanted to use it up and it filled up the dish nicely. You would probably want to follow the ingredient amounts closer to a T if you actually used Mini Ramekins.

*Butter overload! I've done the recipe by the books and with my own twist only using the butter allotted in the instructions for the instant mashed potatoes and left out the rest. It tasted the same. So, if you'd like to do this the healthier way, X out the extra butter they tell you to add on top.

*I also added half a red onion, chopped, and two gloves of garlic, minced, that I added while browning the beef. I just love spice and flavor, so this was a welcomed addition to the dish.


Browning the meat with onion and garlic additions

Instant Mashed Potatoes. Tastes just as good with half the time.
Directions :
Place two tablespoons ground beef in bottom of ramekin. Top with butter and 1/2 tablespoon butter. Top this with 1/2 cup mashed potatoes. Spread 1/2 tablespoon butter over top and sprinkle with cheese or dairy free cheese. Bake at 375 degrees until cheese is melted. This is also good with bacon and green onions sprinkled on top!

*Instead of measuring it out per Ramekin, since I just used one large one, I piled it on in that order, leaving out the extra butter, and sprinkled Cheddar Cheese on top. I left out the bacon and green onions because A. I had none in the house and B. I was trying my best to make this as healthy as possible.

First the meat goes in


Then your corn

Dump in those mashed potatoes

Sprinkle on some cheese and pop that bad boy in the oven!

Pros: It tastes fantastic and is an easy home cooked meal that you can make in under a half hour. It is a great way to avoid take-out and have a nice family meal without having to slave over the stove for hours on end. It also tastes great heated up the next day for lunch (or breakfast if you are my very hungry nineteen-year-old brother).

Cons: The only issues I had was with the original recipe. It was confusing and a lot of the additions (like butter) were unnecessary. Once I made some simple revisions though, this has become one of my go to recipes.

Revisions: I stated them within the recipe, but here they are again. I used a large Ramekin instead of the Minis, I added half a red onion chopped and 2 cloves of garlic, minced, to the beef while browning. I also left out all the extra butter except what was called for in the instant mashed potatoes.

Ok, so it isn't quite the original, but like my mother's Weight Watchers Shepherd's Pie, my "Americanized" Shepherd's Pie is an easy, tasty dish that the whole family will love. Just don't forget the ketchup on the side! What is more American than that?!

Ta da! Told you ketchup is a must!

But maybe not that much ketchup...